There’s nothing quite like the feeling of freshly pampered feet, especially when you’ve done it all by yourself from the comfort of your home. A DIY pedicure at home can be just as luxurious and effective as a spa visit if you have the right tools, steps, and mindset.
Whether you’re preparing for sandal season or just want to relax after a long day, knowing how to do your own pedicure the right way can be a game changer. Let’s walk through everything you need to know to master the art of the at home pedicure.
Why Choose an At Home Pedicure?
Before we get into the pedicure steps, let’s appreciate why giving yourself a self pedicure is worth learning:
- Convenience: You can do it on your schedule, even late at night.
- Savings: A salon-quality pedicure at home saves money.
- Hygiene control: You know exactly how clean your tools are.
- Customization: Choose your colors, scents, and techniques.
When done right, an at home pedicure not only improves how your feet look, but how they feel—soft, relaxed, and healthy.
Must-Have Tools and Goodies for Your DIY Pedicure
Investing in professional pedicure tools is one of the best ways to upgrade your routine. Here’s what you’ll need for a full diy pedicure at home:
- Nail clippers (preferably straight-edged for toes)
- Glass or crystal nail file (gentler and more hygienic)
- Cuticle remover or pusher
- Foot soak basin
- Epsom salt or foot soak
- Pumice stone or foot file
- Nail brush
- Exfoliating scrub
- Moisturizer or foot cream
- Base coat, nail polish, and top coat
- Toe separators or cotton pads
Opt for high-quality pedicure tools to keep your feet safe and healthy. Low-quality tools can cause cuts, infections, or damage to your nails and skin. Good tools make your pedicure safer, more effective, and truly enjoyable!
Step-by-Step Guide: How to Give Yourself a Pedicure at Home
Let’s get into the detailed pedicure steps that will leave your feet refreshed and looking amazing.
Step 1: Prep Your Space and Set the Mood
Choose a spot with good lighting, lay down a towel, and gather all your tools. Light a candle, play soft music, or sip some herbal tea to make your self-care ritual more calming.
Step 2: Remove Old Polish
Use a non-acetone polish remover to gently wipe away any old nail polish. Don’t skip this step—it’s essential for a clean, smooth start.
Step 3: Soak Your Feet
Fill a basin with warm water and add Epsom salts or a nourishing foot soak. Let your feet soak for 10–15 minutes to soften skin and nails.
Pro tip: Add a few drops of lavender or peppermint essential oil for extra relaxation and antibacterial benefits.
Step 4: Exfoliate Dead Skin
After soaking, use a pumice stone or foot file to gently scrub heels, the balls of your feet, and any callused areas. Follow up with a sugar scrub or exfoliating cream for the tops and soles.
Be thorough but gentle—over-scrubbing can cause microtears.
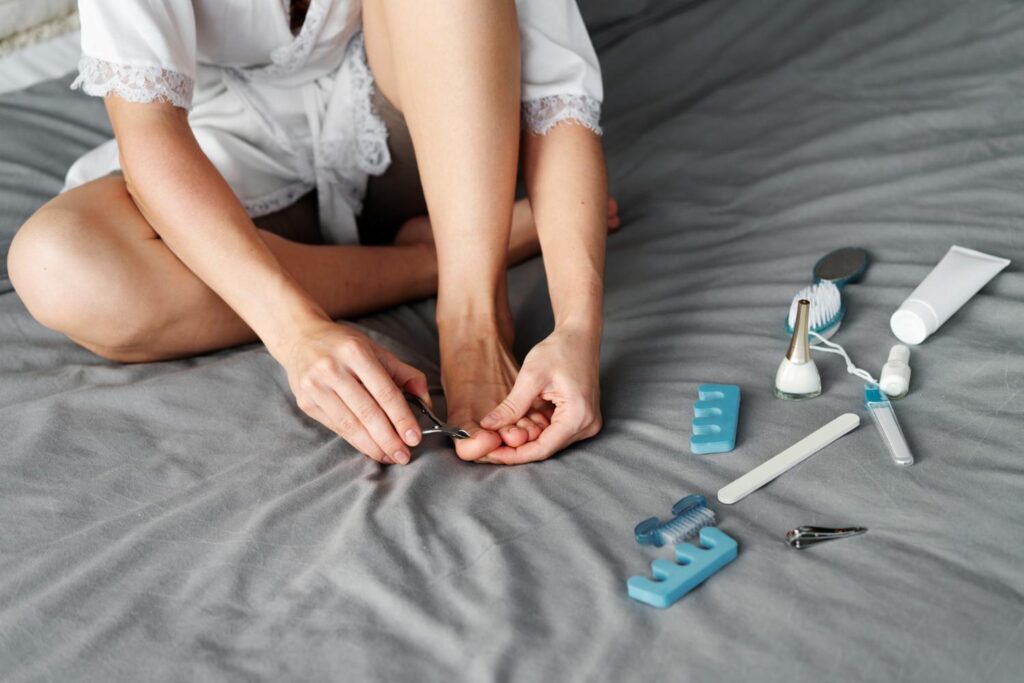
Step 5: Trim and File Nails
Use nail clippers to trim nails straight across (this helps prevent ingrown toenails). File the edges with a glass nail file to shape and smooth.
Avoid rounding the corners too much, and never cut too close to the skin.
Step 6: Care for Cuticles
Apply a cuticle remover and gently push back the cuticles with a wooden stick or cuticle pusher. If needed, you can trim hangnails, but avoid cutting too much.
Healthy cuticles act as a natural barrier—treat them kindly.
Step 7: Clean and Moisturize
Use a nail brush to scrub under and around your nails. Rinse your feet and dry them thoroughly. Then apply a rich moisturizer or foot cream, massaging it into your heels, arches, and toes.
Pro tip: For deep hydration, slip on cotton socks after moisturizing and leave them on for 15–30 minutes.
Step 8: Apply Polish
Before painting, wipe each nail with a bit of nail polish remover to remove oils. Then:
- Apply a base coat to protect nails.
- Apply 1–2 coats of your chosen polish color.
- Finish with a top coat for shine and protection.
Let each coat dry completely to avoid smudging.
Extra Tips for a Spa-Level Pedicure at Home
- Use toe separators to keep polish neat.
- Chill your polish: A few minutes in the fridge helps reduce bubbles.
- Hydrate daily: Apply foot cream nightly to maintain softness.
- Sanitize tools after each use: Especially if shared—clean with soap, alcohol, or UV sterilizer.
How Often Should You Do a Pedicure at Home?
For best results, do a full pedicure at home every 2–3 weeks. In between, keep your feet moisturized, reapply polish as needed, and do light exfoliation once a week.
If you’re often barefoot or wear sandals, you might want to increase the frequency.
The Power of Routine Self-Care
Taking time for a self pedicure isn’t just about beauty—it’s a quiet act of care that supports both your well-being and your health. While painting your nails is the fun finishing touch, a good at home pedicure does much more than add color.
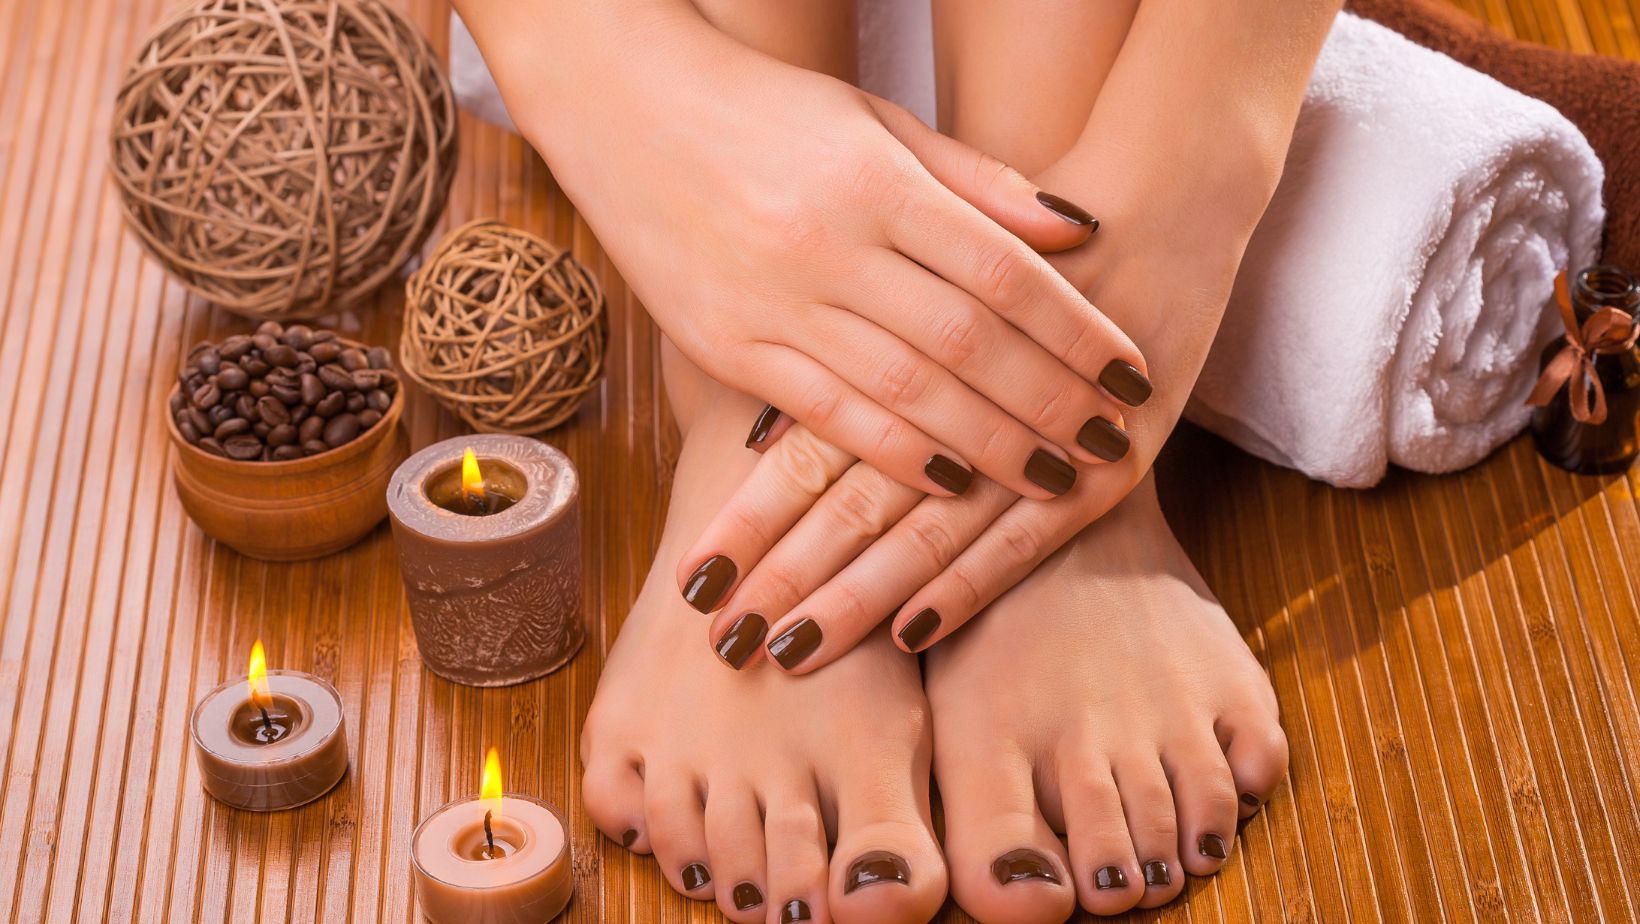 Healthy feet are happy feet. Regularly trimming your toenails prevents painful issues like ingrown nails. Gently removing dry skin and calluses from your heels helps avoid cracks, discomfort, and even infection. Soaking and exfoliating improve circulation and soften tough areas that carry you all day long.
Your feet do a lot for you—they deserve care that goes deeper than aesthetics.
And beyond physical health, the rhythm of soaking, scrubbing, and massaging your feet can be surprisingly meditative. It encourages you to slow down, breathe deeper, and reconnect with your body in a way that feels grounding.
It’s also empowering. When you know how to give yourself a pedicure, you’re not tied to salon schedules or costs. You’re in control of your self-care, your time, and your wellness.
So the next time you reach for your pedi tools, remember: you’re not just pampering you’re actively protecting your foot health and honoring your need for rest and restoration.
Final Thoughts
Learning how to do a pedicure at home can save money, time, and even stress. With the right approach and a few high-quality professional pedicure tools, you can transform this routine into a personal wellness ritual. No rushing, no harsh lights—just you, your favorite polish, and a little TLC.
Make it part of your self-care routine and feel the difference not just in your feet, but in your whole body.